
Our solar panel mounting installation process, although multifaceted, is usually a 3-step process:
Step 1: Adhesive Application
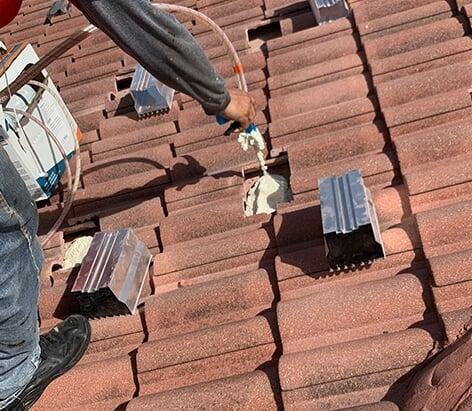
We understand how frustrating it can be that your roof warranty is voided because nails were hammered into it for your new solar panels. That's why Solar Outlets offers you Solar Stack, an innovative solution to implement media that is installed with adhesives.
Adhesives are applied to the counterweight of your roof in the areas where the supports will be placed. As we apply the adhesive to your roof, we make sure to make room for the expansion of it
Our polyurethane foam adhesives will expand approximately up to 3 times their original spray size, ensuring that it will fill the space under your support so you can hold on accordingly to your roof.
Step 2: Set up and place your New Solar Mounts
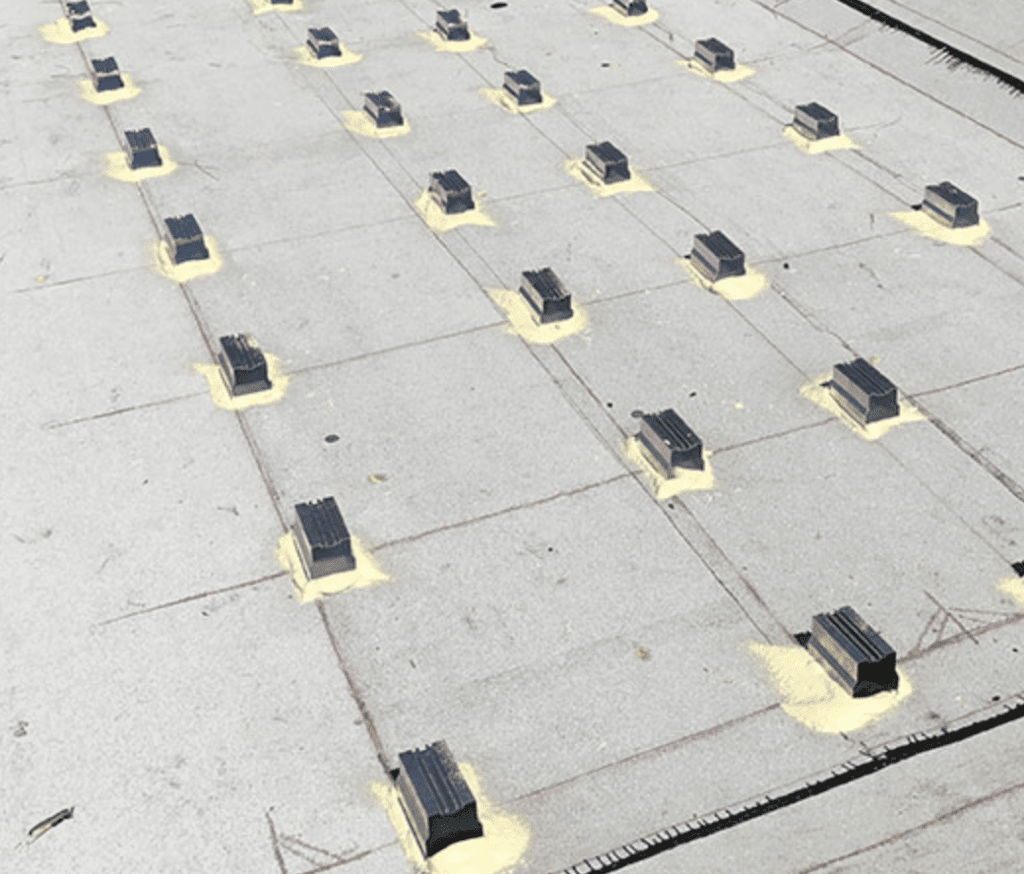
Your new solar panel mounts will be carefully installed while the newly applied adhesive is cured according to the adhesive manufacturer's recommendations. Once the adhesive is sprayed, it will begin to expand, preparing it for solar panel mounting installation.
Polyurethane adhesive should be protected from UV exposure. When installed, we will provide protection covering it with an outer grade acrylic paint layer or covering it with another method
Step 3: Install Modules and Clamps
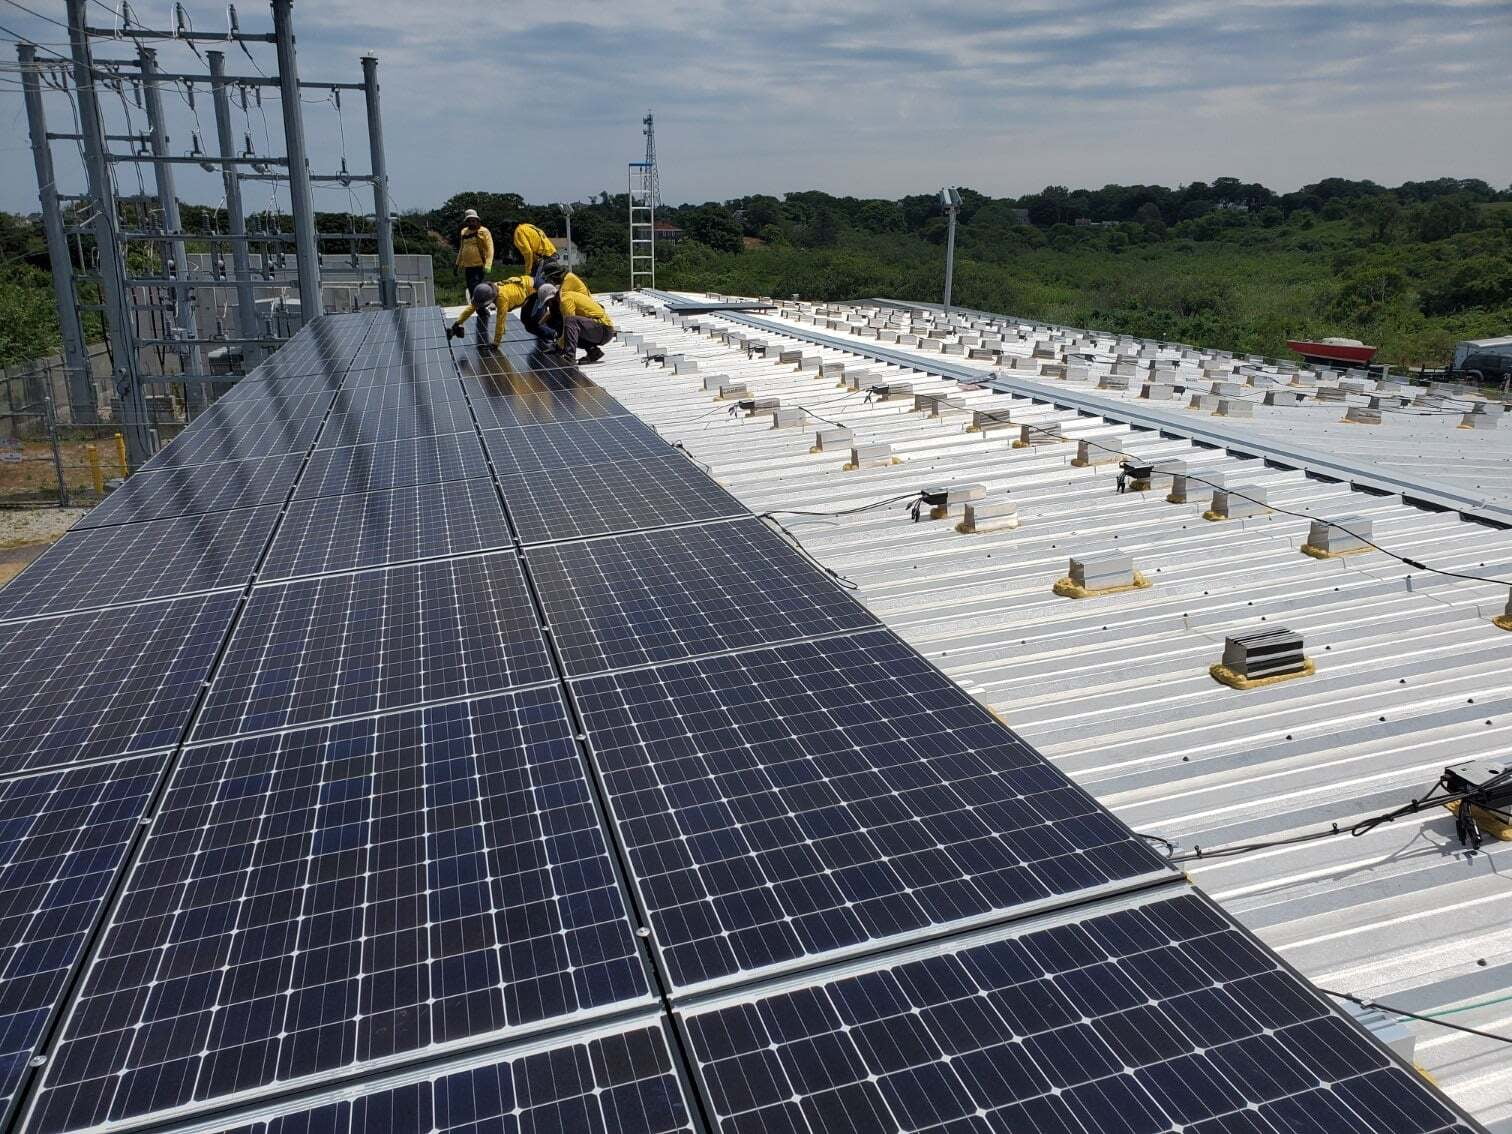
The final part of the installation process is placing your solar panels on your new solar panel supports. Depending on what is optimal, your panels will be installed in portrait or landscape orientation. Along with taking measurements, we will verify that the modules are straight, not only from where we are sitting on the ceiling, but also from the floor. Next, we will connect your modules to each other according to the engineering plans provided with respect to the proper laying.
Once installed correctly, we apply our module clamps in the frame of your new solar panel brackets. We usually rely on two different types of clamps to get the job done. They are end clamps and intermediate clamps.